
This server, SUBCA01, is the “worker bee.” It will stay online, join the domain, and issue certificates to every user and computer in my bank.
This server must be able to talk to DC01 to join the domain.
1. Rename the Server
-
Rename to:
SUBCA01 -
Restart required.
2. Configure Static IP
-
IP Address:
192.168.10.20 -
Subnet Mask:
255.255.255.0 -
Default Gateway:
192.168.10.1 -
Preferred DNS:
192.168.10.10
Join the Domain
Once the IP is set, let’s connect it to the bank network.
-
Right-click Start > System.
-
Click Rename this PC (advanced).
-
Click Change…
-
Member of Domain:
bank.lab

-
Credentials:
-
User:
Administrator -
Pass:
BankLab1!
-
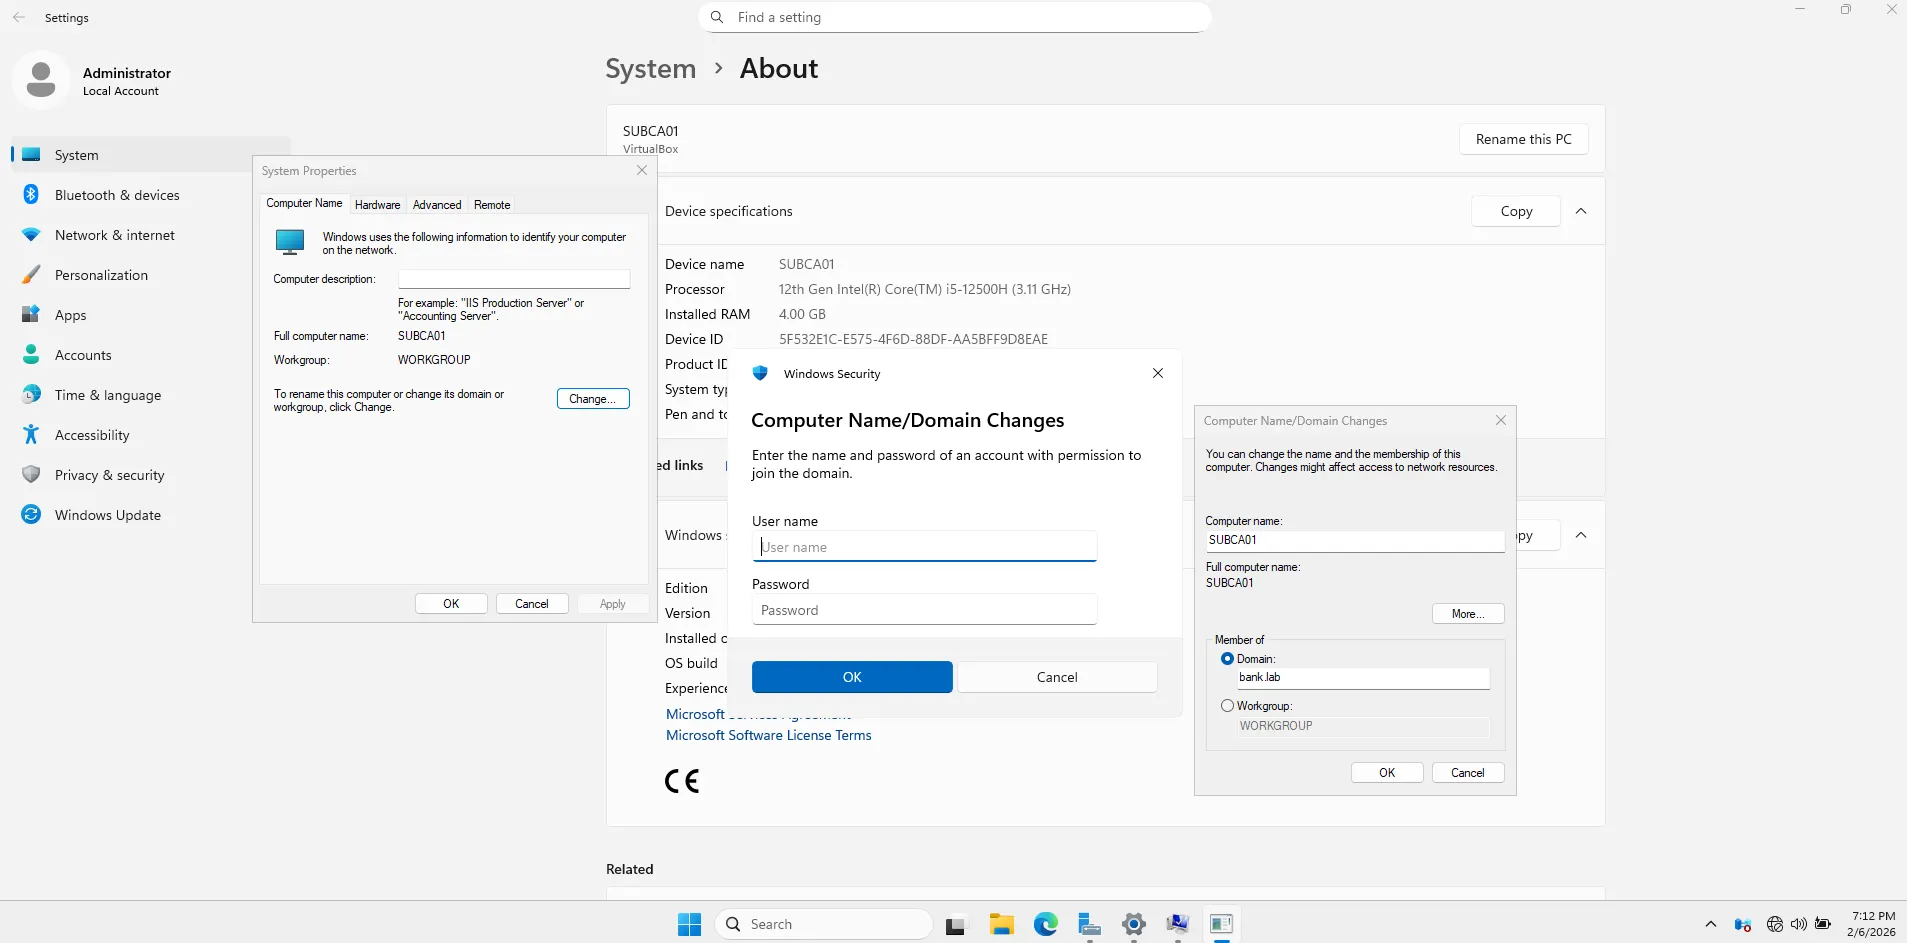
- Success: You should see “Welcome to the bank.lab domain.”

- Restart the server.
Install the Role Software
-
Log into SUBCA01 as
BANK\Administrator.-
Open Server Manager.
-
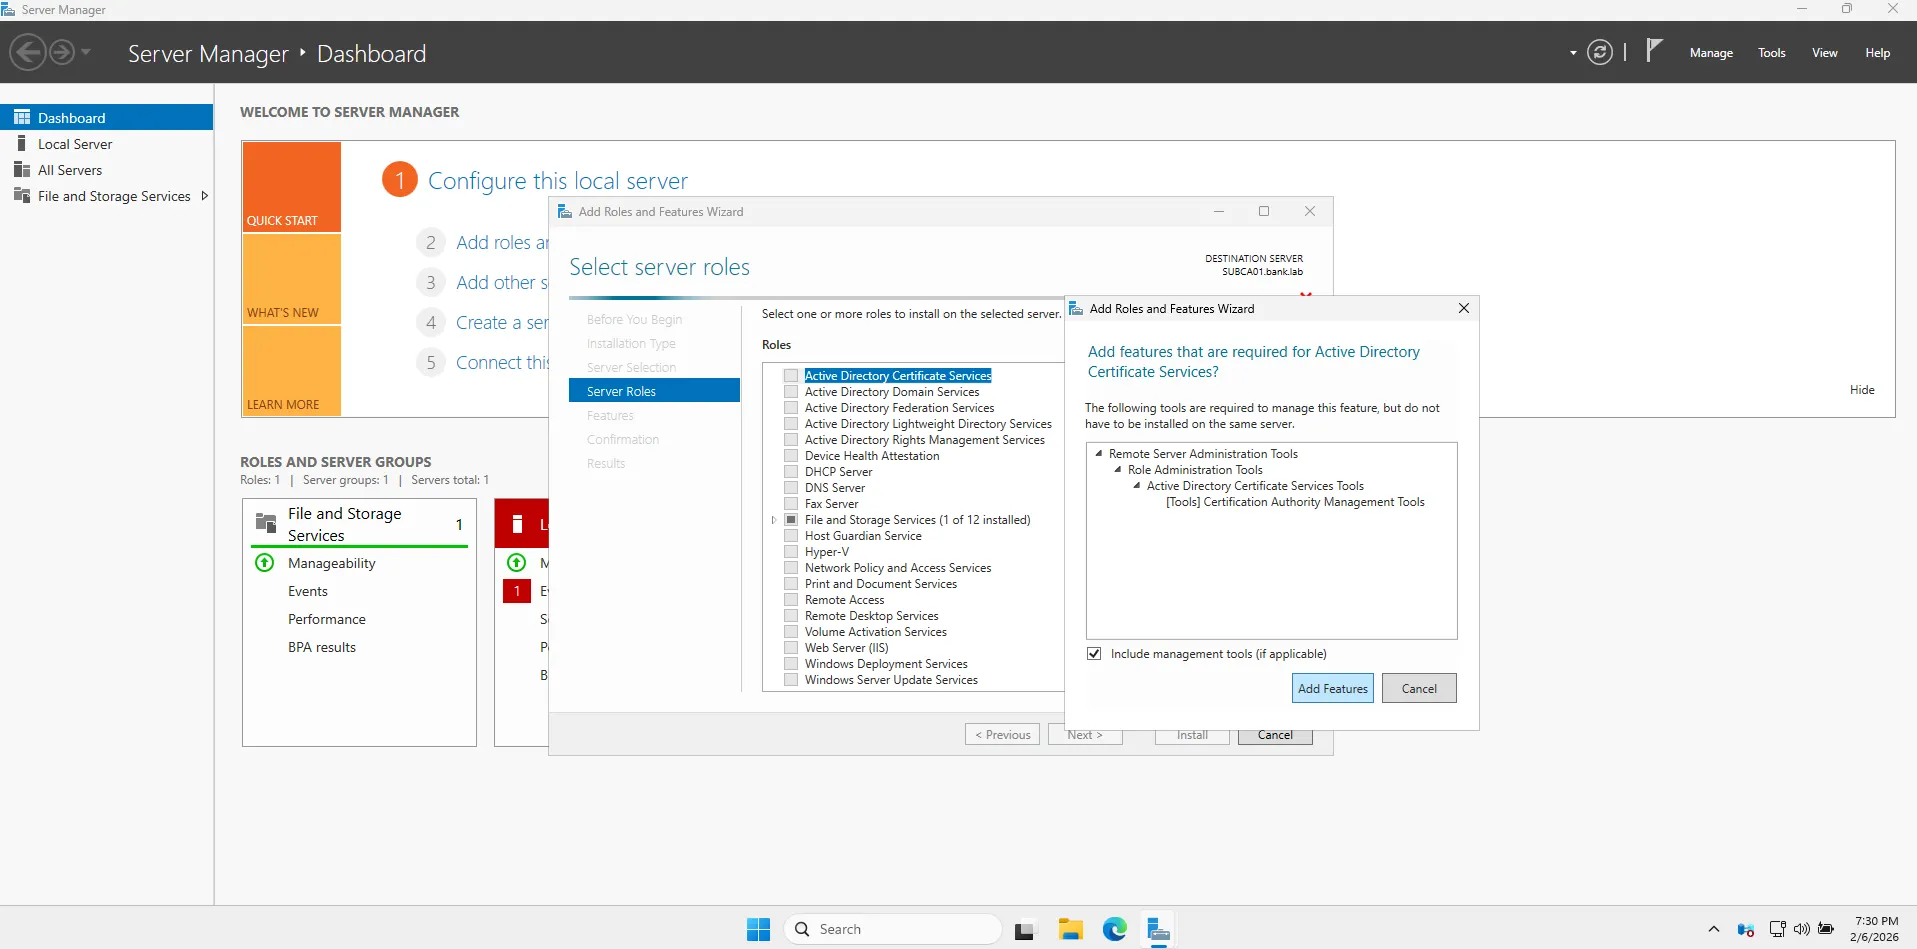
Click Manage > Add Roles and Features.
-
Click Next until you reach Server Roles.
-
Check Active Directory Certificate Services. (Click “Add Features” when prompted).
-
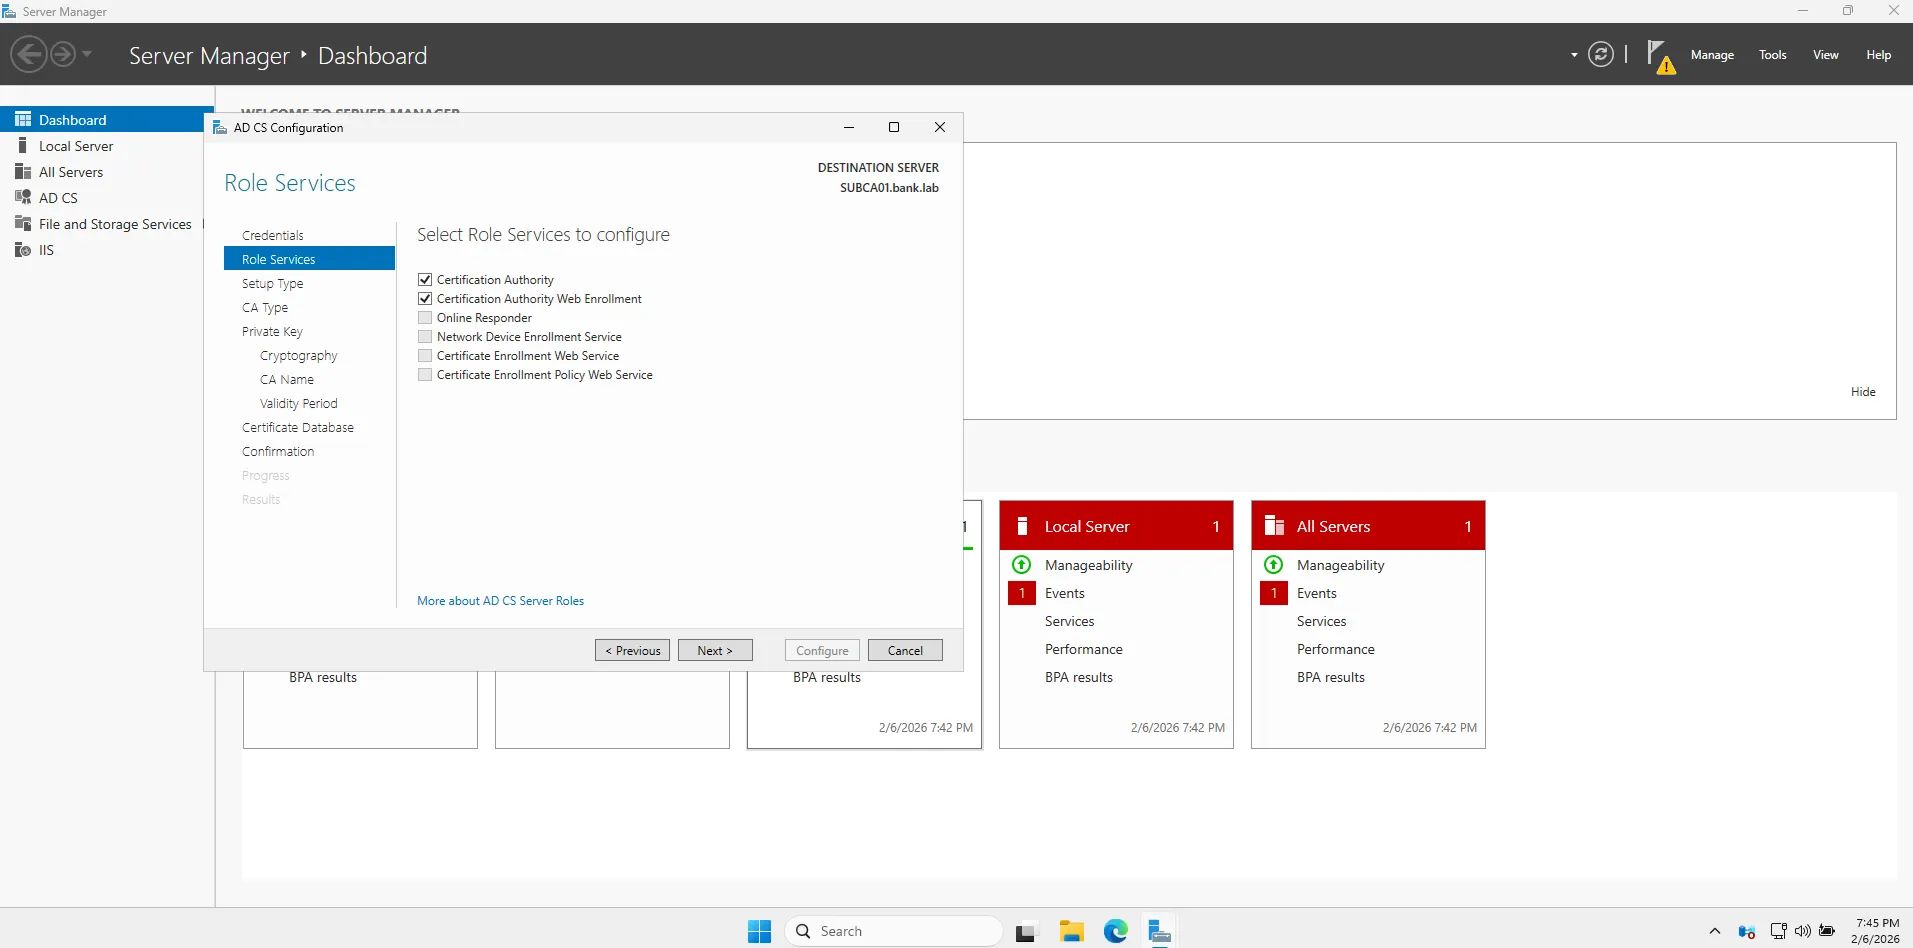
On the Role Services screen, check two boxes this time:
-
Certification Authority
-
Certification Authority Web Enrollment (This allows users to request certificates via a web browser later).

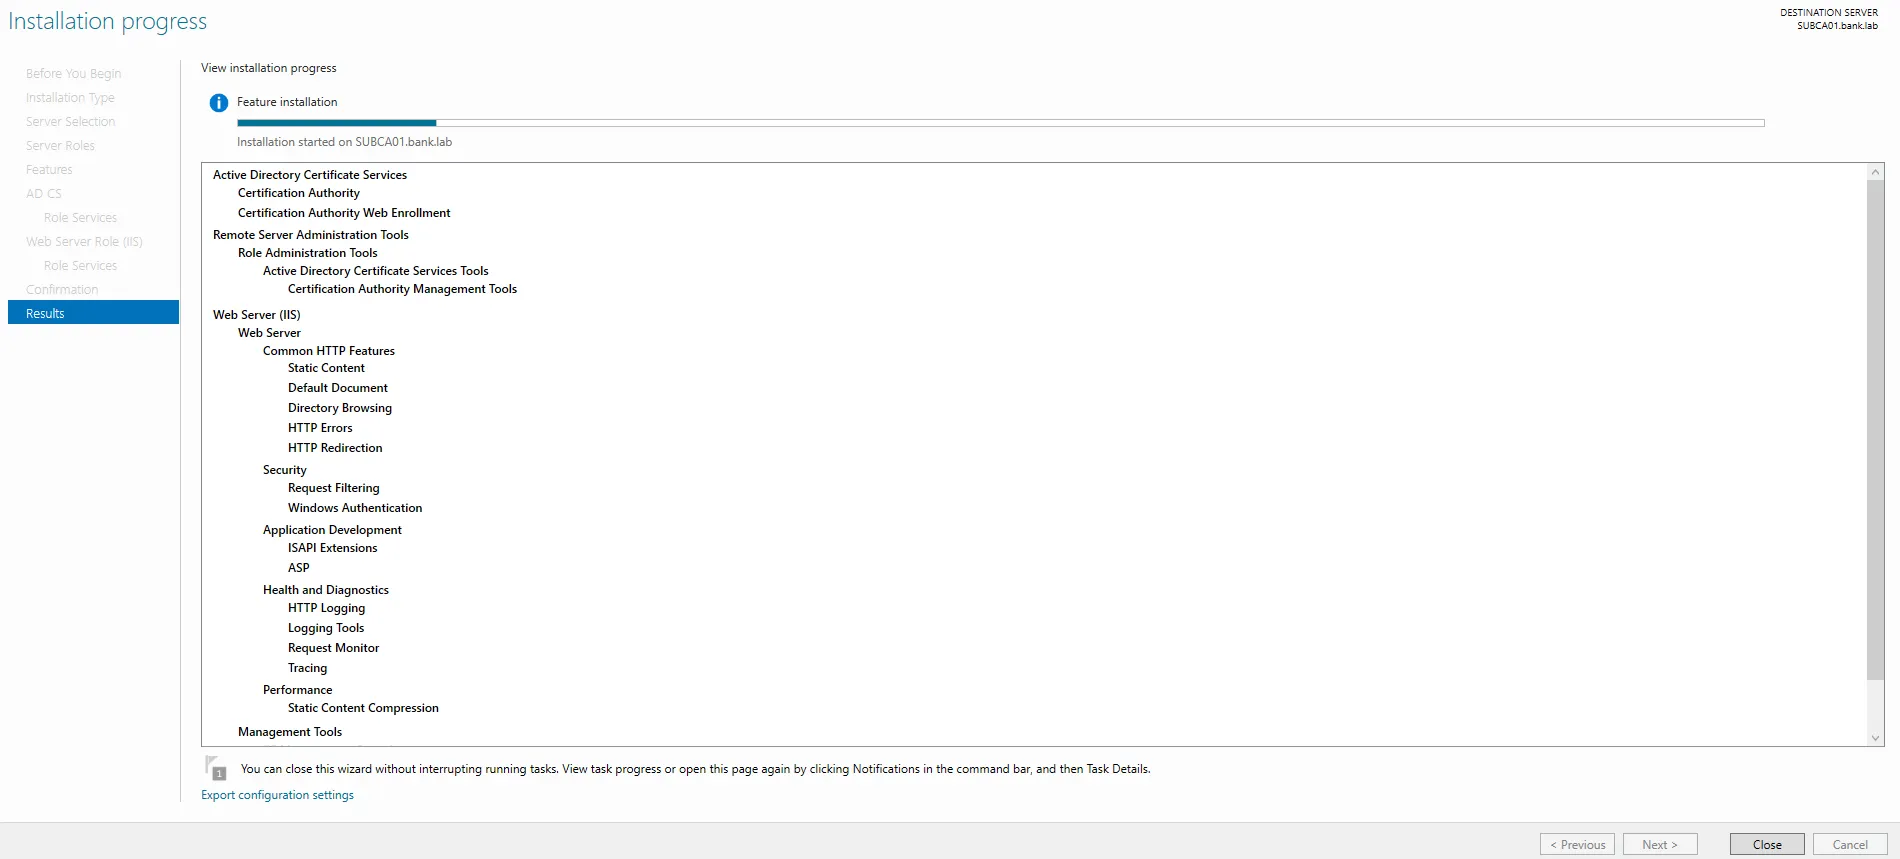
- Click Next through the rest and then Install.
-
Configure the Subordinate CA
Once the install is done, click that Yellow Flag ** and click the **Configure link.
-
Credentials:
BANK\Administrator-> Next. -
Role Services: Check both boxes (CA and Web Enrollment) -> Next.
-
Setup Type:
-
Select Enterprise CA.
-
Why? Because this server is part of the domain and will use Active Directory to manage certificates.

-
-
CA Type:
-
Select Subordinate CA.
-
Why? Because
Bank Root CAis the boss, and this server works for it.

-
-
Private Key: Create a new private key -> Next.
-
Cryptography:
-
Key Length:
2048. (Subordinate CAs usually use 2048 while the Root uses 4096). -
Hash:
SHA256.

-
-
CA Name:
- Common Name: Change to
Bank Issuing CA.
- Common Name: Change to
-
Certificate Request:
-
Select Save a certificate request to a file on the target machine.
-
Note the location (usually
C:\). This is the “ID Application” we have to take to the Root CA to get signed.
-
-
Confirmation: Click Configure.
At the end, the wizard will say it succeeded, but it will also give you a warning: The Certification Authority is not started because the certificate is not yet installed.
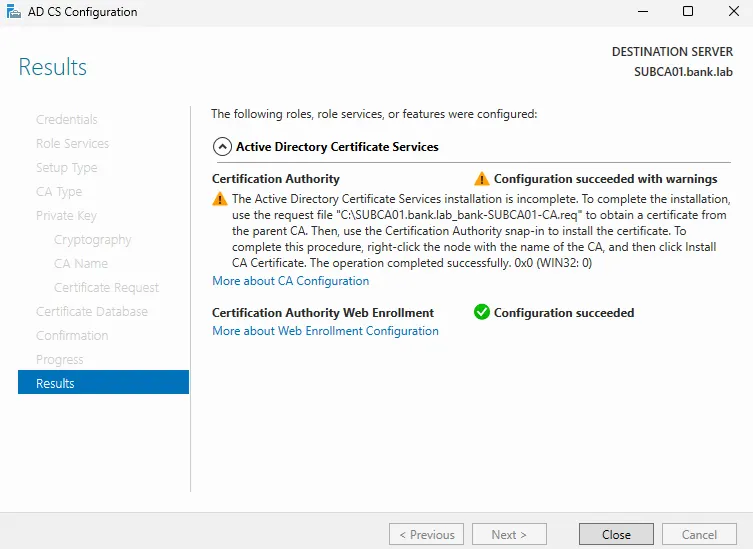
That message is exactly what we were expecting! It confirms that your Subordinate CA has successfully generated its “application” (the .req file) and is now waiting for the Root CA to approve it.
As the message says, the installation is incomplete because it won’t start until it has a valid certificate from its parent.
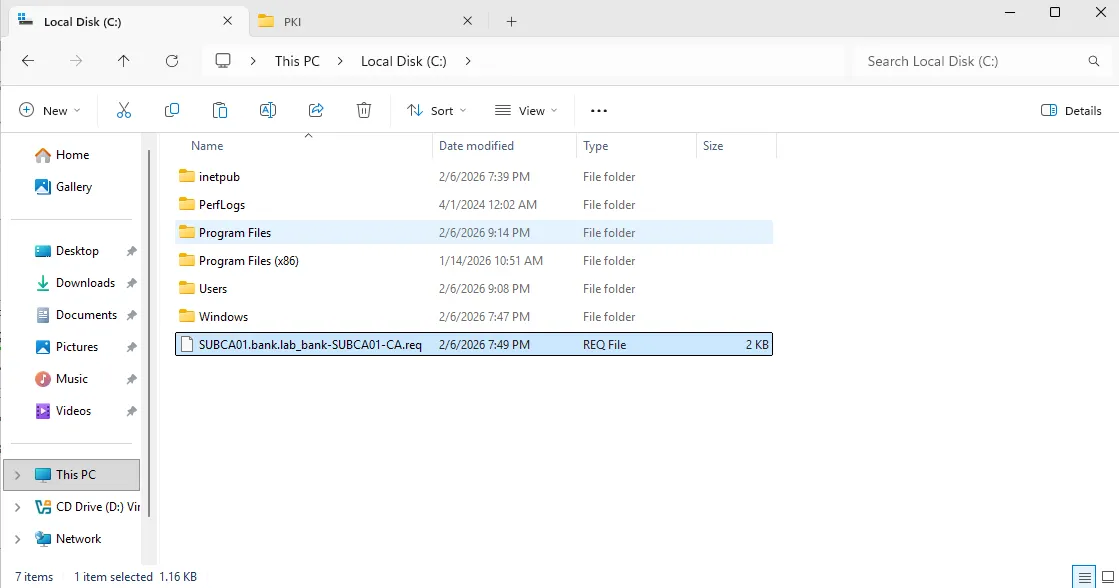
1. Locate the Request File
-
Go to the C: drive on SUBCA01.
-
You should see the file:
SUBCA01.bank.lab_bank-SUBCA01-CA.req.
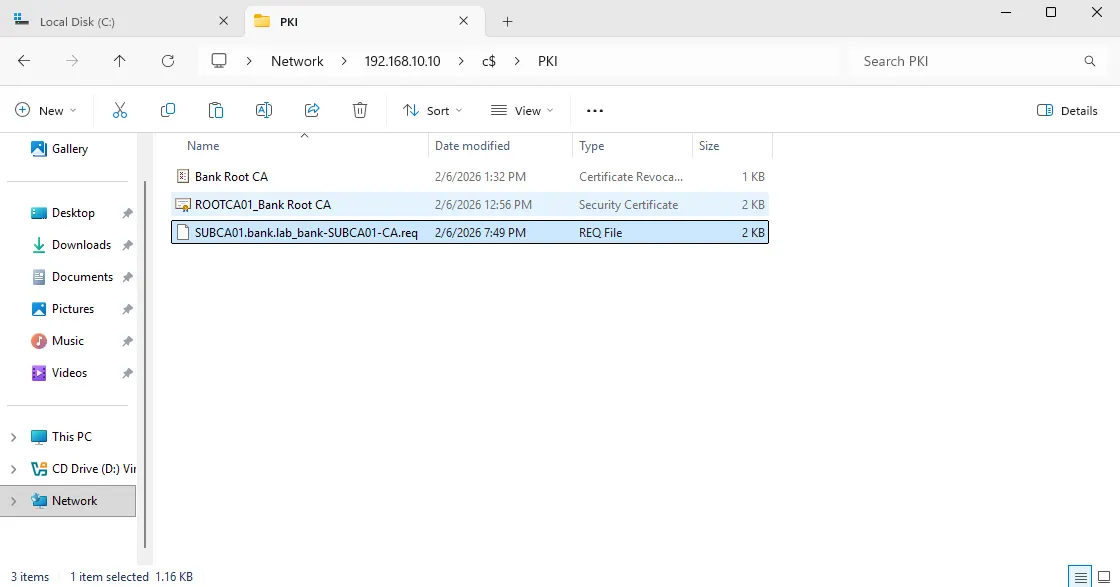
2. Move it to the Staging Area
-
Copy that
.reqfile. -
Paste it into the
C:\PKIfolder on your DC01 (your “bridge” server).
3. Bring the Root CA Online
-
Power on your ROOTCA01 VM.
-
Log in as the local Administrator.
4. Pull the Request onto the Root CA
-
On ROOTCA01, open File Explorer.
-
In the address bar, type
\\192.168.10.10\c$\PKIand press Enter. -
Copy the
.reqfile from the DC and paste it onto the Root CA’s local C: drive.
“Note: In a real banking environment, you would use a USB drive to transfer these files. For this lab simulation, I temporarily connected the Root CA to the network.
5. Submit the Request
-
Open the Certification Authority console on the Root CA.
-
Right-click the CA Name (Bank Root CA).
-
Select All Tasks > Submit new request…
-
Navigate to the
C:\drive and select the.reqfile you just copied. -
Now the certificate will appear in the Issued Certificates folder.
Export the Issued Certificate (On ROOTCA01)
-
Click on the Issued Certificates folder in the left pane.
-
Double-click the certificate that was just created (it should say Bank Issuing CA).
-
Click the Details tab.
-
Click Copy to File…
-
Follow the Certificate Export Wizard:
-
Welcome: Click Next.
-
Export File Format: Keep the default (DER encoded binary X.509 (.CER)). Click Next.
-
File to Export: Save it to your C: drive as
BankIssuingCA.cer. -
Completing: Click Finish.
-

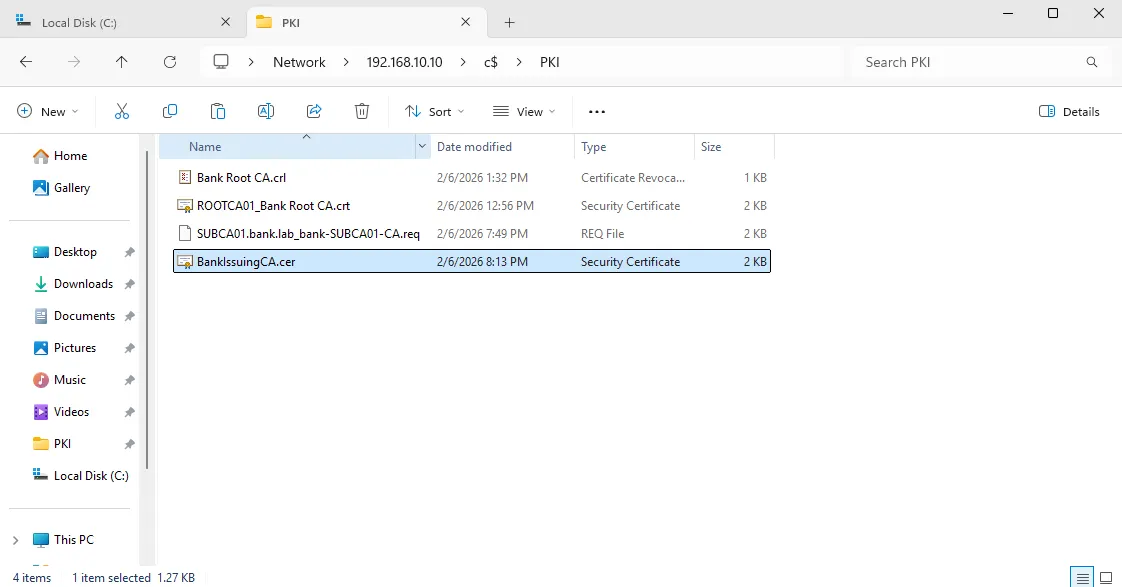
Final Handover
Now we move the file back across the “bridge” (the DC).
-
On ROOTCA01, open File Explorer.
-
Copy
C:\BankIssuingCA.cer. -
In the address bar, type
\\192.168.10.10\c$\PKIand press Enter. -
Paste the file into the PKI folder on the DC.
-
Don’t Forget the CRL!
-
While on the Root CA, go to
C:\Windows\System32\CertSrv\CertEnroll. -
Copy the file ending in
.crl(e.g.,Bank Root CA.crl). -
Paste this into the PKI folder on the DC along with the
.cerfile.
- Shutdown ROOTCA01
Install the Certificate (On SUBCA01)
This is the moment where SUBCA01 finally becomes active.
-
Log into SUBCA01.
-
Go to
\\192.168.10.10\c$\PKIand copyBankIssuingCA.certo your local C: drive. -
Open the Certification Authority console (Tools > Certification Authority).
-
Right-click Bank Issuing CA (it will currently have a red “stopped” icon).
-
Select All Tasks > Install CA Certificate…
-
Select the
C:\BankIssuingCA.cerfile and click Open.
Publish the Root CRL:
-
On SUBCA01, copy the
.crlfile you brought over. -
Open a Command Prompt as Administrator.
-
Run:
certutil -addstore -f Root "C:\Bank Root CA.crl" -
(This manually teaches the Subordinate CA that the Root is valid, helping the service start).
Start the Service
-
In the Certification Authority console, right-click Bank Issuing CA.
-
Select All Tasks > Start Service.
Resume:
With the Root CA secured offline, I shifted focus to the Issuing CA (SUBCA01). This is the server that remains online to handle day-to-day certificate requests from users and computers.
1. Domain Integration Unlike the Root, the Subordinate CA was joined to the bank.lab domain. This allows it to use Active Directory Certificate Services (AD CS) in Enterprise mode, enabling automated certificate enrollment for domain members.
2. The Installation & Web Enrollment I installed the Certification Authority and Certification Authority Web Enrollment roles. Adding Web Enrollment provides a user-friendly interface for requesting certificates via a browser (e.g., http://subca01.bank.lab/certsrv).
3. The Signing Ceremony (The Handover) Because a Subordinate CA cannot trust itself, I had to generate a Certificate Request (.req) and perform a “Signing Ceremony”:
-
Export: Transferred the request from the online Subordinate to the offline Root.
-
Sign: Powered on the Root CA, submitted the request, and officially Issued the certificate.
-
Import: Brought the signed certificate (
.cer) back to the Subordinate CA.
4. Activation Upon importing the signed certificate, the Bank Issuing CA service was started. The transition from a “Stopped” state to a Green Checkmark verified that the chain of trust was successfully established from the Offline Root down to the Issuing CA.